
What is screen printing?
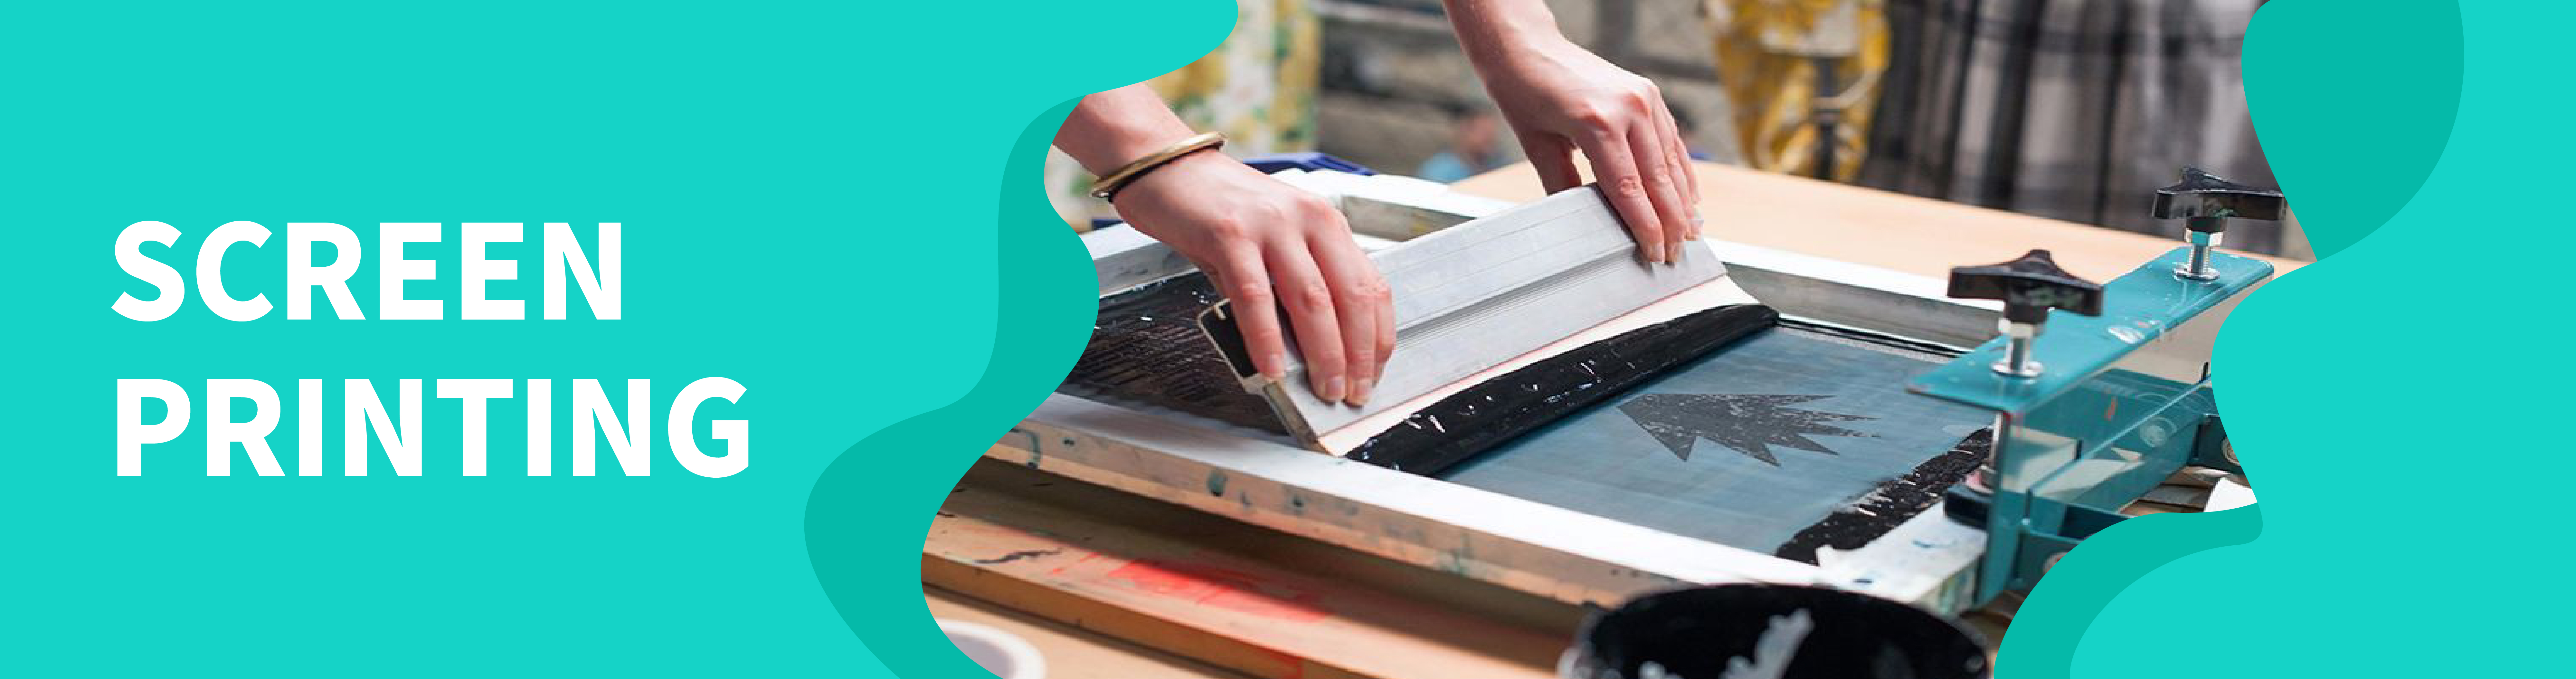
Screen printing, also known as silk screen printing, is a process of printing t-shirts that applies ink to shirts through a mesh partially blocked by a stencil to mark off the shape of the image. The placement of a mesh between the ink and t-shirt makes screen printing an indirect method of applying ink, in contrast to direct-to-garment printing.
During screen printing, a tool such as a blade or a squeegee fills the mesh holes with ink. The tool then does a reverse pass to press the ink through the areas not blocked by the stencil. Multiple colors require multiple stencils and screens.
Screen printing became a popular method of producing t-shirts in the 1970s, and it remains widely used today. However, because it takes significant time to prepare stencils and screens, it is inefficient for smaller t-shirt print runs. Today it is increasingly reserved for larger print runs, while t-shirt manufacturers frequently turn to DTG for smaller print runs.
How does screen printing work?
The screen printing process can be broken down into seven steps:
- Create design
- Prepare screen
- Expose emulsion
- Create stencil
- Prepare the screen and t-shirt for printing
- Press ink through the screen
- Cure ink
Here's what each step involves:
1. Creating a design
Today, screen printing designs usually are created by printing digital files onto transparent films made from substances such as acetate. The printed film becomes the basis of the stencil that will be created later in the process.
2. Preparing screen
Once a design has been created, a screen corresponding to the required design and fabric can be selected. To prepare the screen for printing, a light-sensitive emulsion is applied to it. The emulsion will later harden when exposed to light, helping separate the areas of the screen that are hardened from the liquid ink over the areas where the design will be printed. If multiple colors are used, multiple screens must be prepared.
3. Exposing emulsion
After the screen has been prepared, the emulsion can be exposed to light. The light will harden the emulsion around the liquid areas representing the design shape.
4. Creating a stencil
After the emulsion has been exposed long enough to harden, it will cover the areas of the screen surrounding the design. It then can be washed away, leaving a stencil in the shape of the design.
5. Preparing the screen and t-shirt for printing
Now the screen is placed on a printing press, and the garment is placed on a printing board under the screen. For multiple colors, some printers are set up to rotate screens.
6. Pressing ink through the screen
Now the screen is lowered onto the printing board. Ink gets inserted into the top of the screen. A blade or squeegee moves the ink down the screen and presses it through the stencil. This leaves the design on the t-shirt.
If multiple t-shirts are to be printed from the same stencil, this process must be repeated. After all the items have been printed, the emulsion can be removed, and the mesh can be reused.
7. Curing ink
After printing, the ink must be cured to preserve durability. This can be done with a heat gun, heat press, flash dryer, or conveyor dryer.